How to Install Marine Carpet on a Boat (Step-by-Step Guide)
How to Install Marine Carpet on a Boat (Step-by-Step Guide)
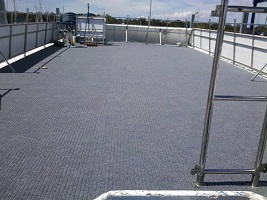
Installing marine carpet on your boat is a practical way to improve comfort, safety and appearance.
With the right preparation and materials, it’s a straightforward DIY project.
In this guide, we’ll walk you through how to install marine carpet correctly so it lasts for years in harsh Australian conditions.
If you’re looking for high-quality materials, view our Marine Carpet Australia range before you begin.
Tools & Materials You’ll Need
Before starting, gather:
- Marine carpet (cut to size)
- Marine-grade adhesive
- Notched trowel
- Sharp utility knife
- Straight edge or metal ruler
- Measuring tape
- Roller (heavy hand roller recommended)
- Acetone or surface cleaner
- Sandpaper (if required)
Choosing a quality marine-grade carpet is important.
Our carpets are UV-stabilised, mould-resistant, and designed for wet environments.
Step 1: Remove Old Carpet & Clean the Surface
If replacing old carpet:
- Remove all existing carpet.
- Scrape off old adhesive.
- Clean thoroughly using acetone or a suitable cleaner.
- Allow the surface to dry completely.
The surface must be smooth, dry and free from debris before applying new carpet.
Step 2: Repair & Prepare the Surface
Inspect the deck or floor for:
- Cracks
- Rot (for timber surfaces)
- Soft spots
- Uneven areas
Sand rough patches and repair any damaged areas.
Proper preparation ensures your marine carpet bonds correctly and prevents lifting later.
Step 3: Measure & Dry Fit the Carpet
Measure carefully before cutting.
Lay the carpet in place without adhesive first (dry fit) to:
- Check alignment
- Confirm coverage
- Adjust edges if needed
Always allow a small margin for trimming.
If you’re installing wider sections, remember our marine carpet is supplied in 2.0 metre widths, with custom lengths available.
Step 4: Apply Marine-Grade Adhesive
Use a high-quality marine adhesive suitable for outdoor and wet areas.
- Spread adhesive evenly using a notched trowel.
- Work in manageable sections.
- Follow the manufacturer’s drying and tack-time instructions.
Do not rush this stage — proper adhesive coverage is critical.
Glue suggestion: Roberts 6037 or brushable/sprayable contact cement.
Step 5: Lay & Roll the Carpet
Carefully place the carpet onto the adhesive.
- Start from one edge
- Smooth outward to avoid air bubbles
- Use a heavy roller to ensure strong contact
Apply firm pressure across the entire surface.
Step 6: Trim & Finish Edges
Use a sharp utility knife and a straight edge to trim excess carpet.
Ensure:
- If able, prepare a Template
- Clean, straight cuts
- Neat edges around corners and fittings
- Dont over cut to the bottom of the existing floor if cutting on the boat
For a professional finish, take your time here.
Create a Template
Use kraft paper, cardboard, or butcher paper to make a template:
- Cut/ tape pieces together to fit each section of the deck.
- Mark edges, curves, and obstacles, cut template to shape
- Number each template piece for easy installation.
- Mark TOP with a marker on the top of your finished templates with a marker, so you can place them on the backing of the carpet
Tip: It is easier to cut the carpet on its backing. Place the template with the TOP facing down on the carpet backing.
If the TOP is facing up toward you on the carpet backing, the template will be cut incorrectly.
Add 5–10 mm extra on edges to allow trimming during installation.
Step 7: Allow Proper Curing Time
Avoid heavy foot traffic for at least 24–48 hours (check adhesive guidelines).
This allows the adhesive to fully cure and bond securely.
Installation Tips for Best Results
- Install in dry weather
- Avoid extremely hot surfaces during installation
- Use marine-grade adhesive only
- Ensure full surface contact
- Don’t stretch the carpet while laying
High-quality marine carpet makes installation easier and longer-lasting.
Why Quality Marine Carpet Matters
Not all outdoor carpet is suitable for boats.
Marine-grade carpet should be:
- UV stabilised
- Water-resistant
- Mould and mildew resistant
- Needle-punched for durability
If you’re installing new flooring, browse Carpet Capers full Marine Carpet range here for durable, Australian-suited options.
We also offer selected sizes with free shipping Australia-wide and GST included in all prices.
Frequently Asked Installation Questions
Do I need a special adhesive for marine carpet?
Yes. Always use a marine-grade adhesive designed for wet or outdoor environments.
Can I install marine carpet myself?
Yes. With proper preparation and the right tools, marine carpet installation is suitable for DIY projects.
How long does marine carpet adhesive take to dry?
Typically 24–48 hours, depending on product and weather conditions.
Can marine carpet be installed over timber?
Yes, provided the timber is structurally sound, dry and properly prepared.
Ready to Upgrade Your Boat Flooring?
Installing marine carpet is one of the easiest ways to refresh your boat’s interior or deck.
View our full Marine Carpet Australia collection to choose the right colour and size for your project.
Need a custom roll length up to 25–30 metres? Contact us for a delivery quotation.
Buy online today with confidence.
Contact us for any enquiries or additional tips.
Explore Our Marine Carpet Range
We offer multiple marine carpet styles to suit different boat and outdoor flooring needs:
View the full collection here.
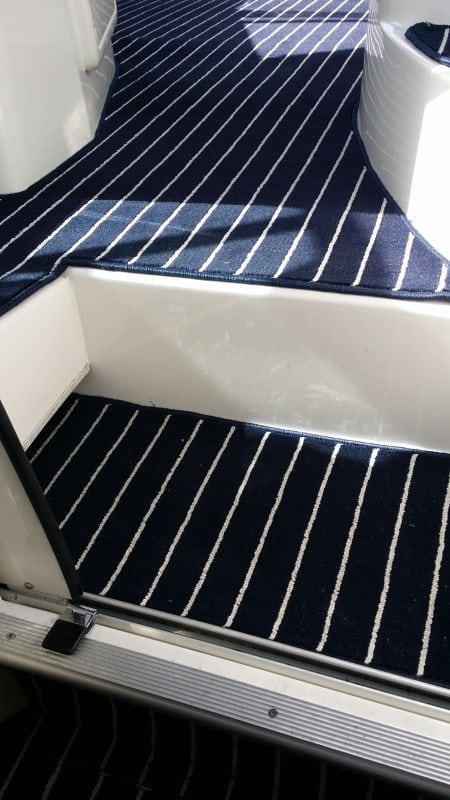
- Teak Marine Carpet – Natural timber-look finish
- Plank Marine Carpet – Modern plank-style design
- Plush Marine Carpet – Soft underfoot comfort
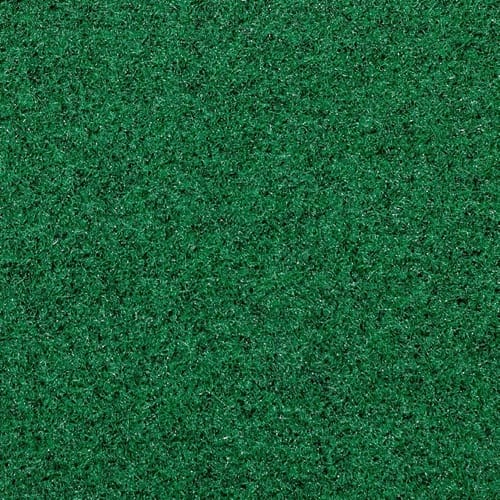
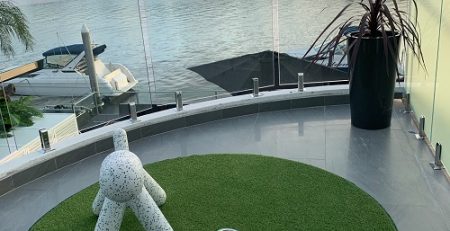
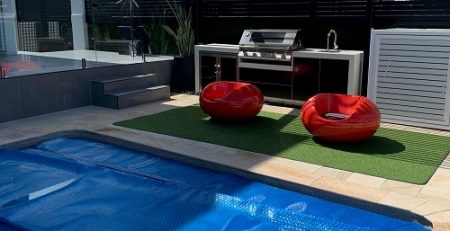
- Green Marine Carpet – Lush heavy-duty green carpet
- Ribbed Marine Carpet – Textured grip surface
- Boating Carpet – Heavy-duty marine flooring
- Green Marine carpet – Lush heavy duty Green Colour
View the full additional information here.
✔ Free shipping Australia-wide on selected items
✔ GST included in all listed prices
✔ Custom roll lengths up to 25–30 metres
Learn More About Marine Carpet
Looking for more advice before choosing marine carpet? Explore our helpful guides covering installation, cleaning, outdoor applications and buying tips to help you select the right carpet for your project.